
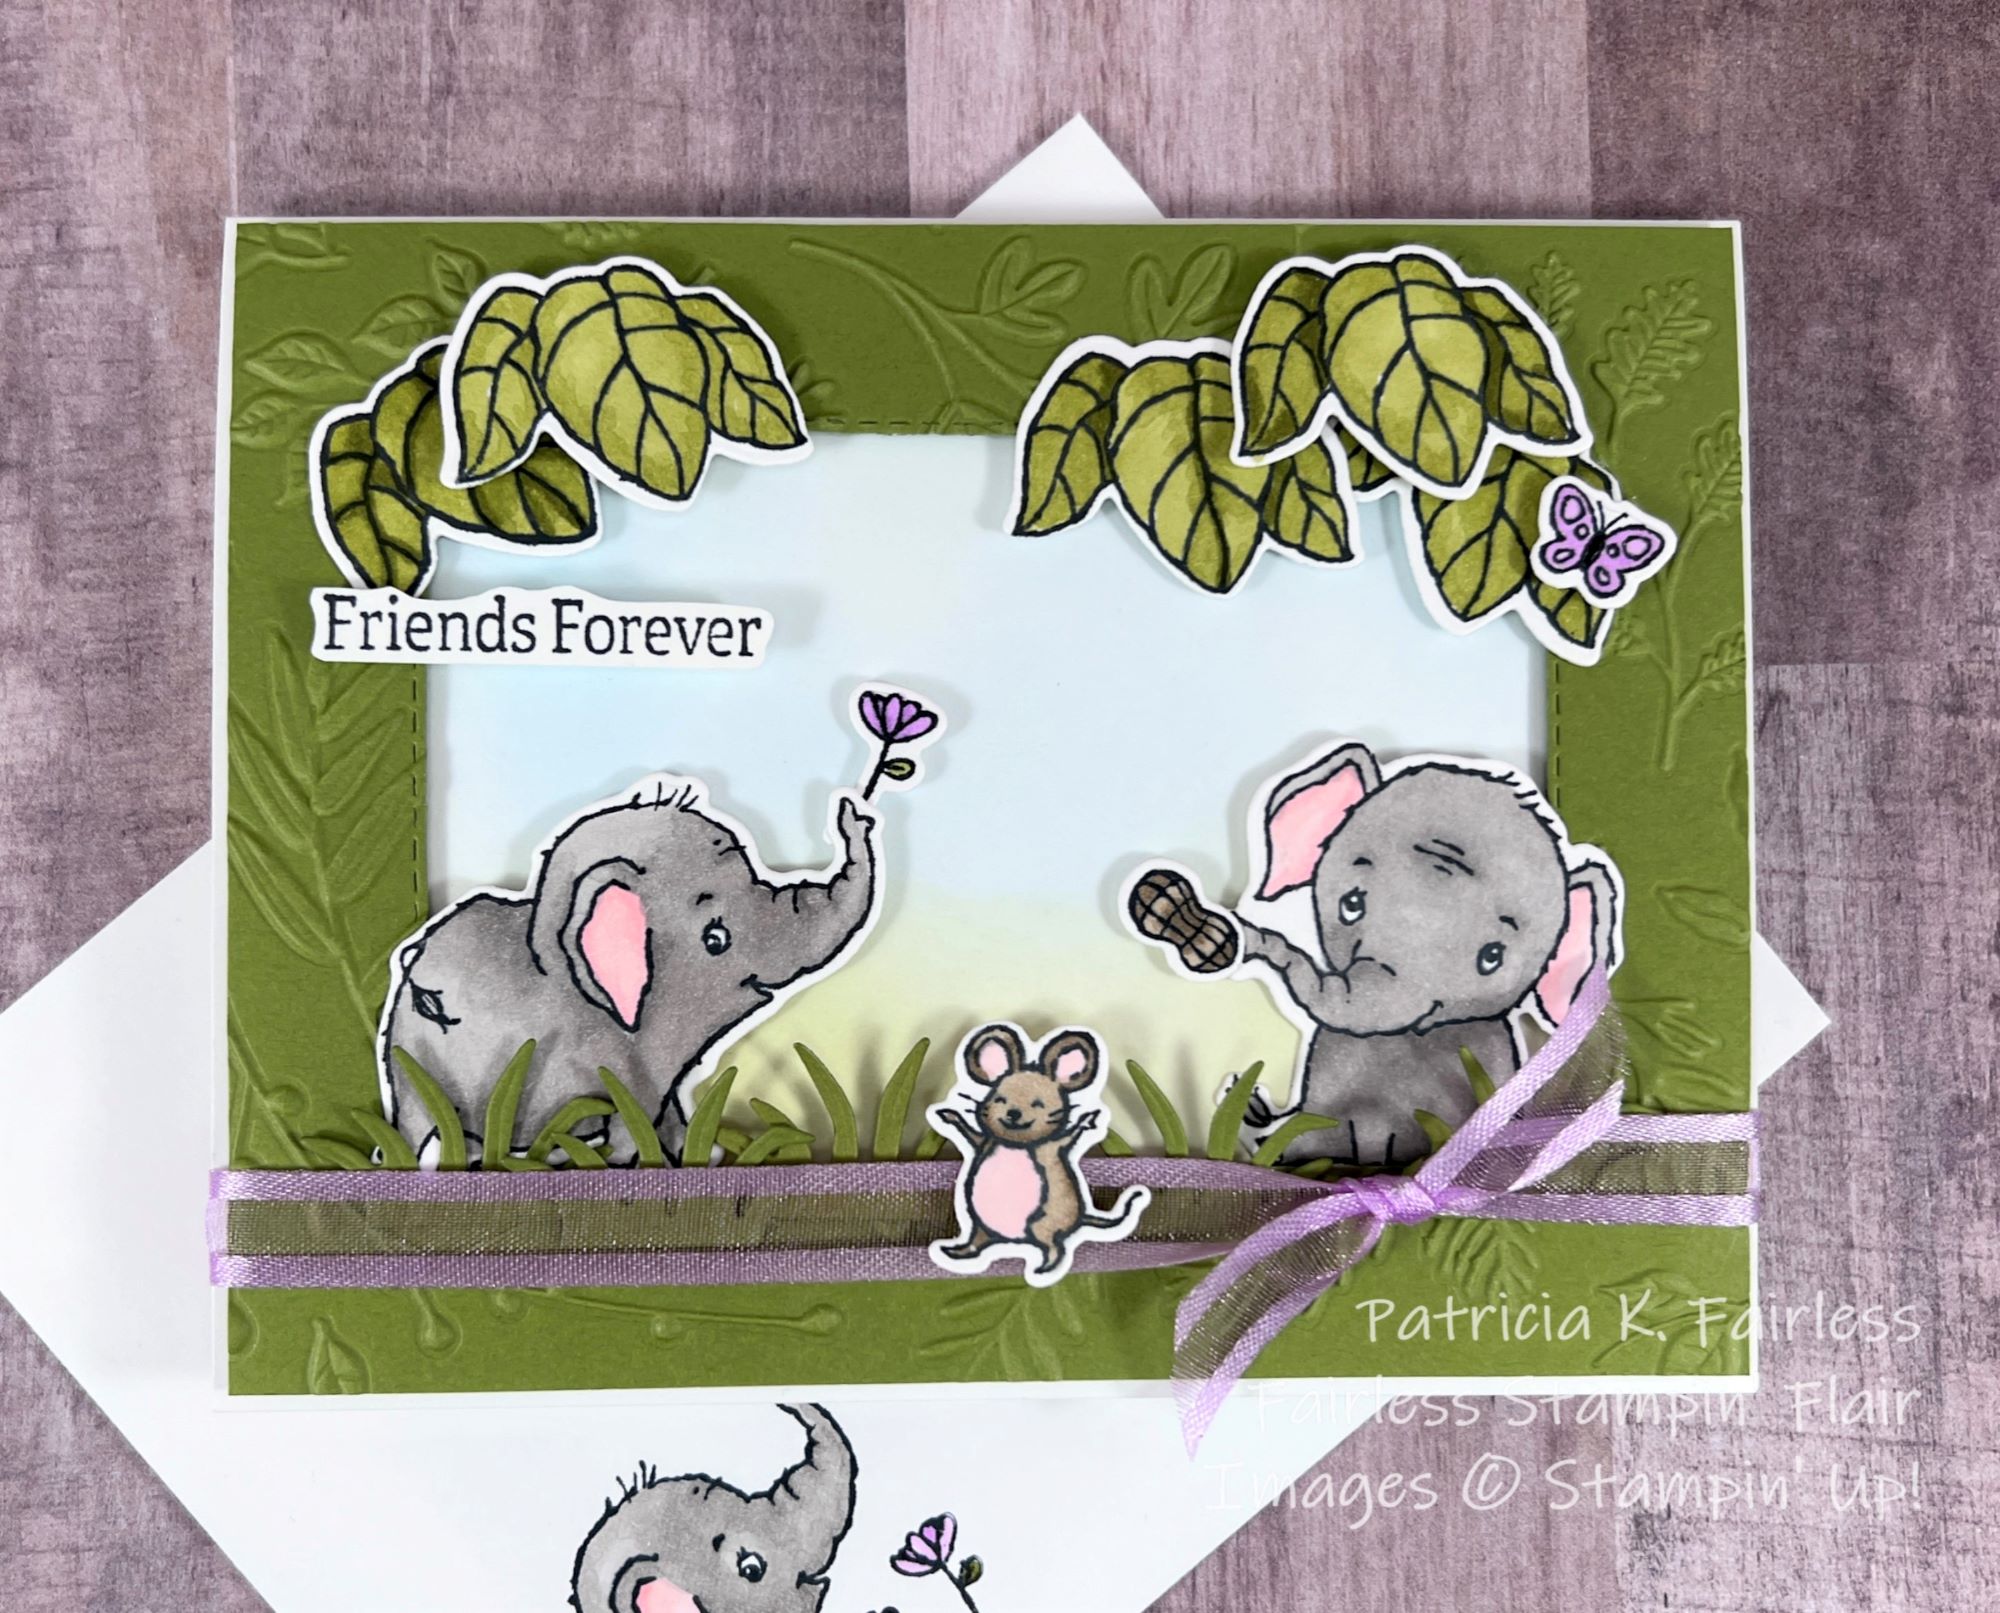
Today's card is the type of card I really enjoy making--cards with beautiful outdoor scenes.

Wouldn't you just love to sit on the beach or maybe your deck and look out and see this at sunset?
This Sunset scene was made using the Sunrise Sailing Bundle. This is an Online Exclusive Product that was introduced this month, and I knew as soon as I saw it that it had my name written all over it!

The sunset on the horizon was made with masks and Blending Brushes. I masked the sun with a 3" circle and tucked the circle under a piece of lightweight copy paper to mask the horizon line. Then I got my blending brushes and ink and started creating the sky and the glow around the sun. When that was complete I removed the circle mask and replaced it with the negative portion (hole) of the mask and used my Blending Brush to color the sun dipping below the horizon.

Next, I moved the horizon mask up to cover the sky and used Blending Brushes again to create the reflection in the water.
After the blending was complete, the ripples in the water and the horizon line were stamped with a stamp from the Sunrise Sailing stamp set as were the birds.
The Sunrise Sailing Dies includes these two smaller sailboats which were quick to die cut and adhere to the scene with dimensionals.
For detailed step-by-step instructions download this PDF Tutorial.

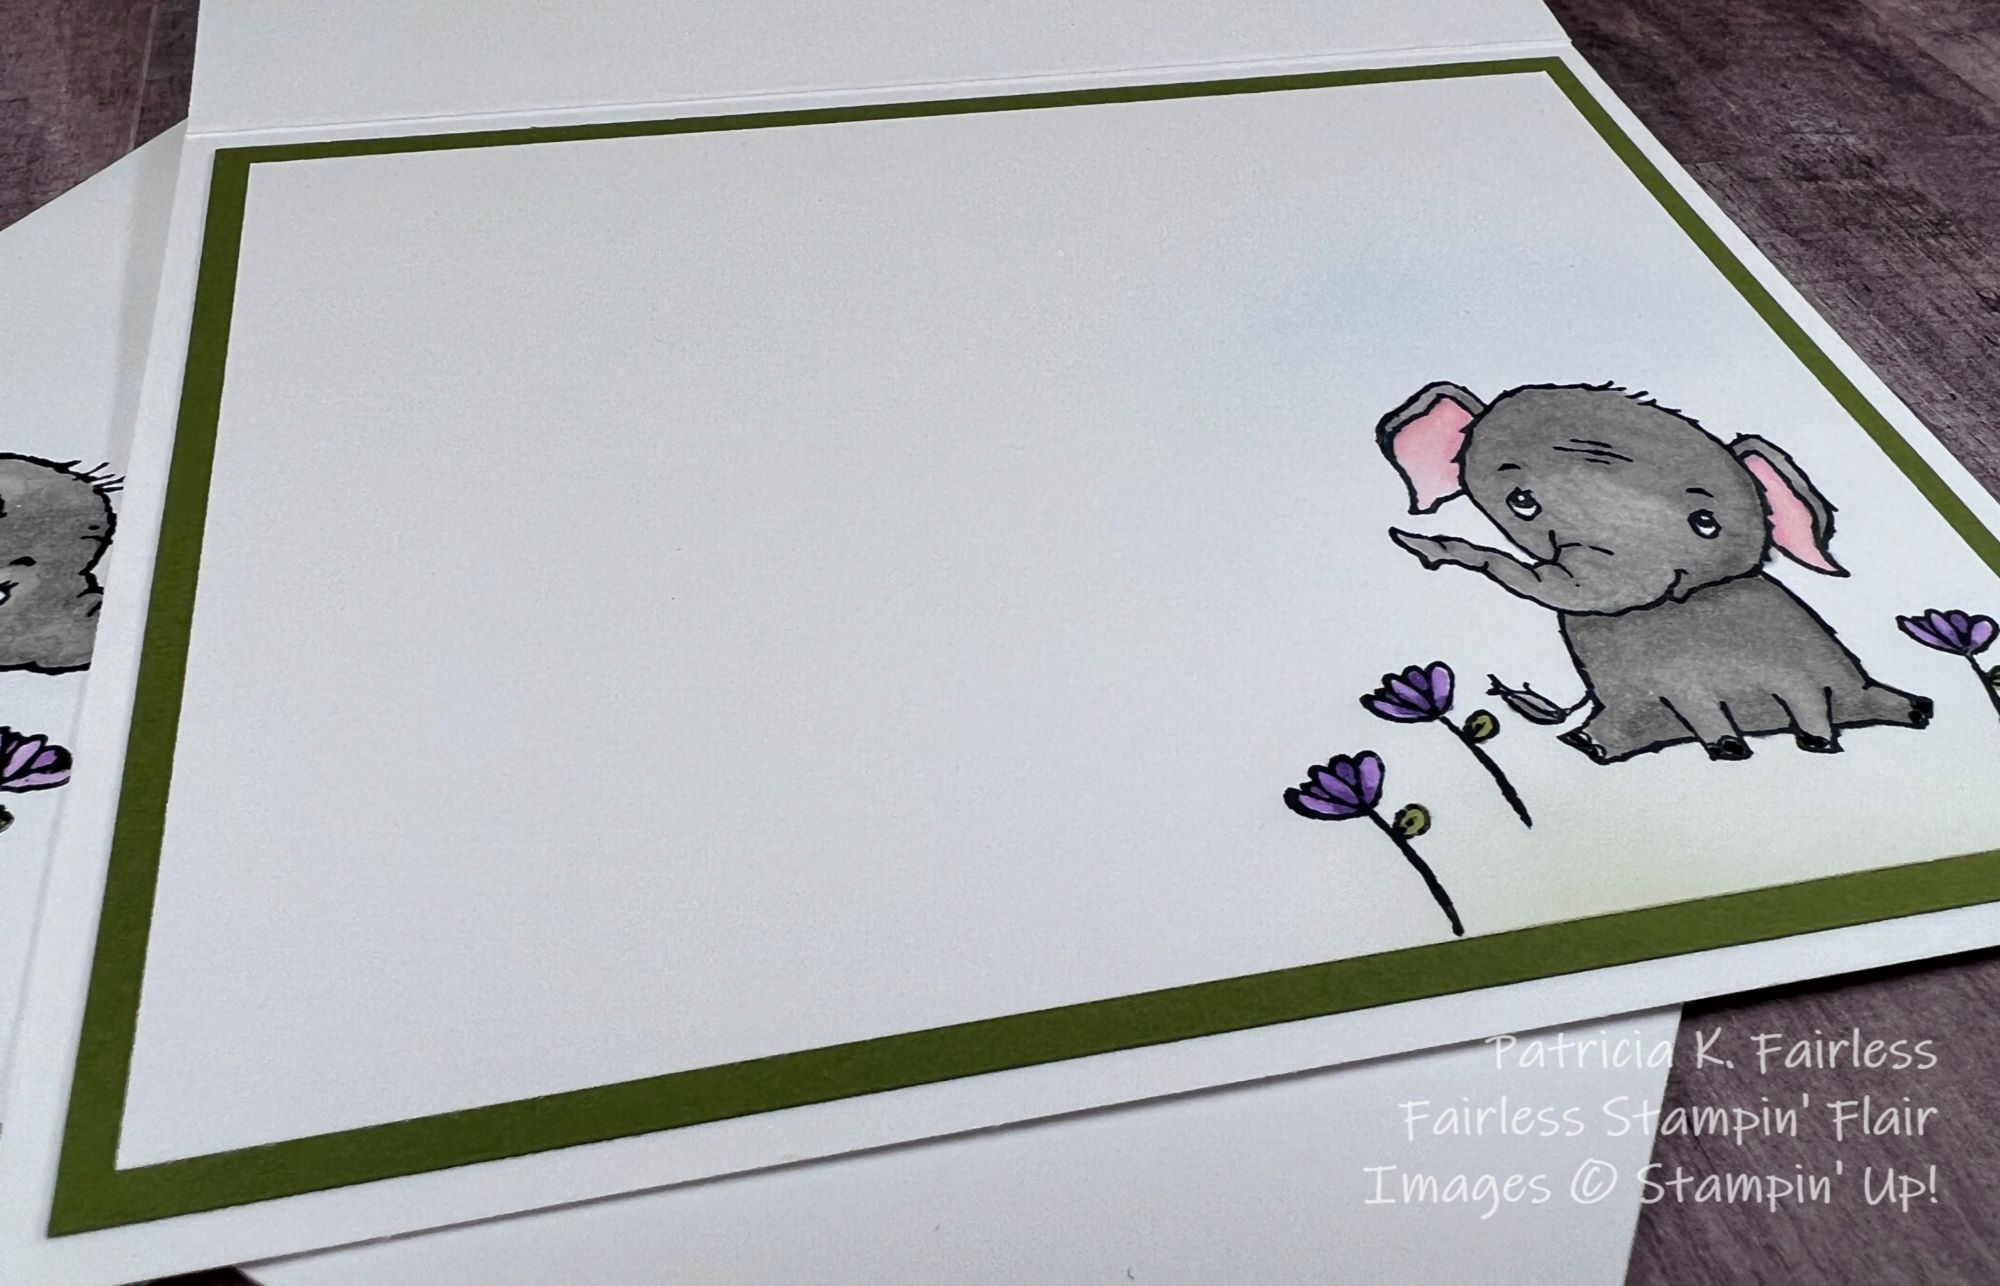
There are a couple of "wave" dies included in the bundle. For the inside of the card I used one of them to create the wave at the bottom. A few stamped birds completed the inside. I can always add a greeting later or write a hand written note when I determine how the card will be used.
A list of the products used is shown below. For more information on any of them or to place an order click on the image and you will be taken to my Stampin' Up! store..
Be sure to check the list of supplies on the Tutorial as several of the items listed have alternative options.
Product List![Sunrise Sailing Bundle (English) [ 165497 ]](https://assets1.tamsnetwork.com/images/EC042017NF/165497s.jpg "Sunrise Sailing Bundle (English) [ 165497 ]")
![Stylish Shapes Dies [ 159183 ]](https://assets1.tamsnetwork.com/images/EC042017NF/159183s.jpg "Stylish Shapes Dies [ 159183 ]")
![Basic White 8 1/2" X 11" Thick Cardstock [ 159229 ]](https://assets1.tamsnetwork.com/images/EC042017NF/159229s.jpg "Basic White 8 1/2\" X 11\" Thick Cardstock [ 159229 ]")
![Night Of Navy 8-1/2" X 11" Cardstock [ 100867 ]](https://assets1.tamsnetwork.com/images/EC042017NF/100867s.jpg "Night Of Navy 8-1/2\" X 11\" Cardstock [ 100867 ]")
![Basic White 8 1/2" X 11" Cardstock [ 159276 ]](https://assets1.tamsnetwork.com/images/EC042017NF/159276s.jpg "Basic White 8 1/2\" X 11\" Cardstock [ 159276 ]")
![Night Of Navy Classic Stampin' Pad [ 147110 ]](https://assets1.tamsnetwork.com/images/EC042017NF/147110s.jpg "Night Of Navy Classic Stampin' Pad [ 147110 ]")
![Misty Moonlight Classic Stampin' Pad [ 153118 ]](https://assets1.tamsnetwork.com/images/EC042017NF/153118s.jpg "Misty Moonlight Classic Stampin' Pad [ 153118 ]")
![Lemon Lolly Classic Stampin' Pad [ 161666 ]](https://assets1.tamsnetwork.com/images/EC042017NF/161666s.jpg "Lemon Lolly Classic Stampin' Pad [ 161666 ]")
![Calypso Coral Classic Stampin' Pad [ 147101 ]](https://assets1.tamsnetwork.com/images/EC042017NF/147101s.jpg "Calypso Coral Classic Stampin' Pad [ 147101 ]")
![Misty Moonlight Stampin' Blends Combo Pack [ 153108 ]](https://assets1.tamsnetwork.com/images/EC042017NF/153108s.jpg "Misty Moonlight Stampin' Blends Combo Pack [ 153108 ]")
![Neutrals Stampin' Write Markers [ 161697 ]](https://assets1.tamsnetwork.com/images/EC042017NF/161697s.jpg "Neutrals Stampin' Write Markers [ 161697 ]")
![Calypso Coral Stampin' Blends Combo Pack [ 154881 ]](https://assets1.tamsnetwork.com/images/EC042017NF/154881s.jpg "Calypso Coral Stampin' Blends Combo Pack [ 154881 ]")
![Subtles Stampin' Write Markers [ 161698 ]](https://assets1.tamsnetwork.com/images/EC042017NF/161698s.jpg "Subtles Stampin' Write Markers [ 161698 ]")
![Drusy Adhesive Backed Embellishments [ 164223 ]](https://assets1.tamsnetwork.com/images/EC042017NF/164223s.jpg "Drusy Adhesive Backed Embellishments [ 164223 ]")
![Clear Wink Of Stella Glitter Brush [ 141897 ]](https://assets1.tamsnetwork.com/images/EC042017NF/141897s.jpg "Clear Wink Of Stella Glitter Brush [ 141897 ]")
![Stampin' Up! Masking Paper [ 155480 ]](https://assets1.tamsnetwork.com/images/EC042017NF/155480s.jpg "Stampin' Up! Masking Paper [ 155480 ]")
![Blending Brushes [ 153611 ]](https://assets1.tamsnetwork.com/images/EC042017NF/153611s.jpg "Blending Brushes [ 153611 ]")
![Stampin' Cut & Emboss Machine [ 149653 ]](https://assets1.tamsnetwork.com/images/EC042017NF/149653s.jpg "Stampin' Cut & Emboss Machine [ 149653 ]")


")


 Designer Series Paper")


")


 Open Weave Ribbon")
