Friday, February 23, 2024

GARDEN ON THE GRID

Sometimes we hear someone say they are "moving off the grid".  Well, today, we are moving "on the grid".

The background today uses the Grid Technique.  If you are unfamiliar with this technique I demonstrated on my Learning With Friends Video yesterday, 2/22/24, the steps of creating a grid background.  You can watch the replay on my YouTube channel by clicking on the image below.


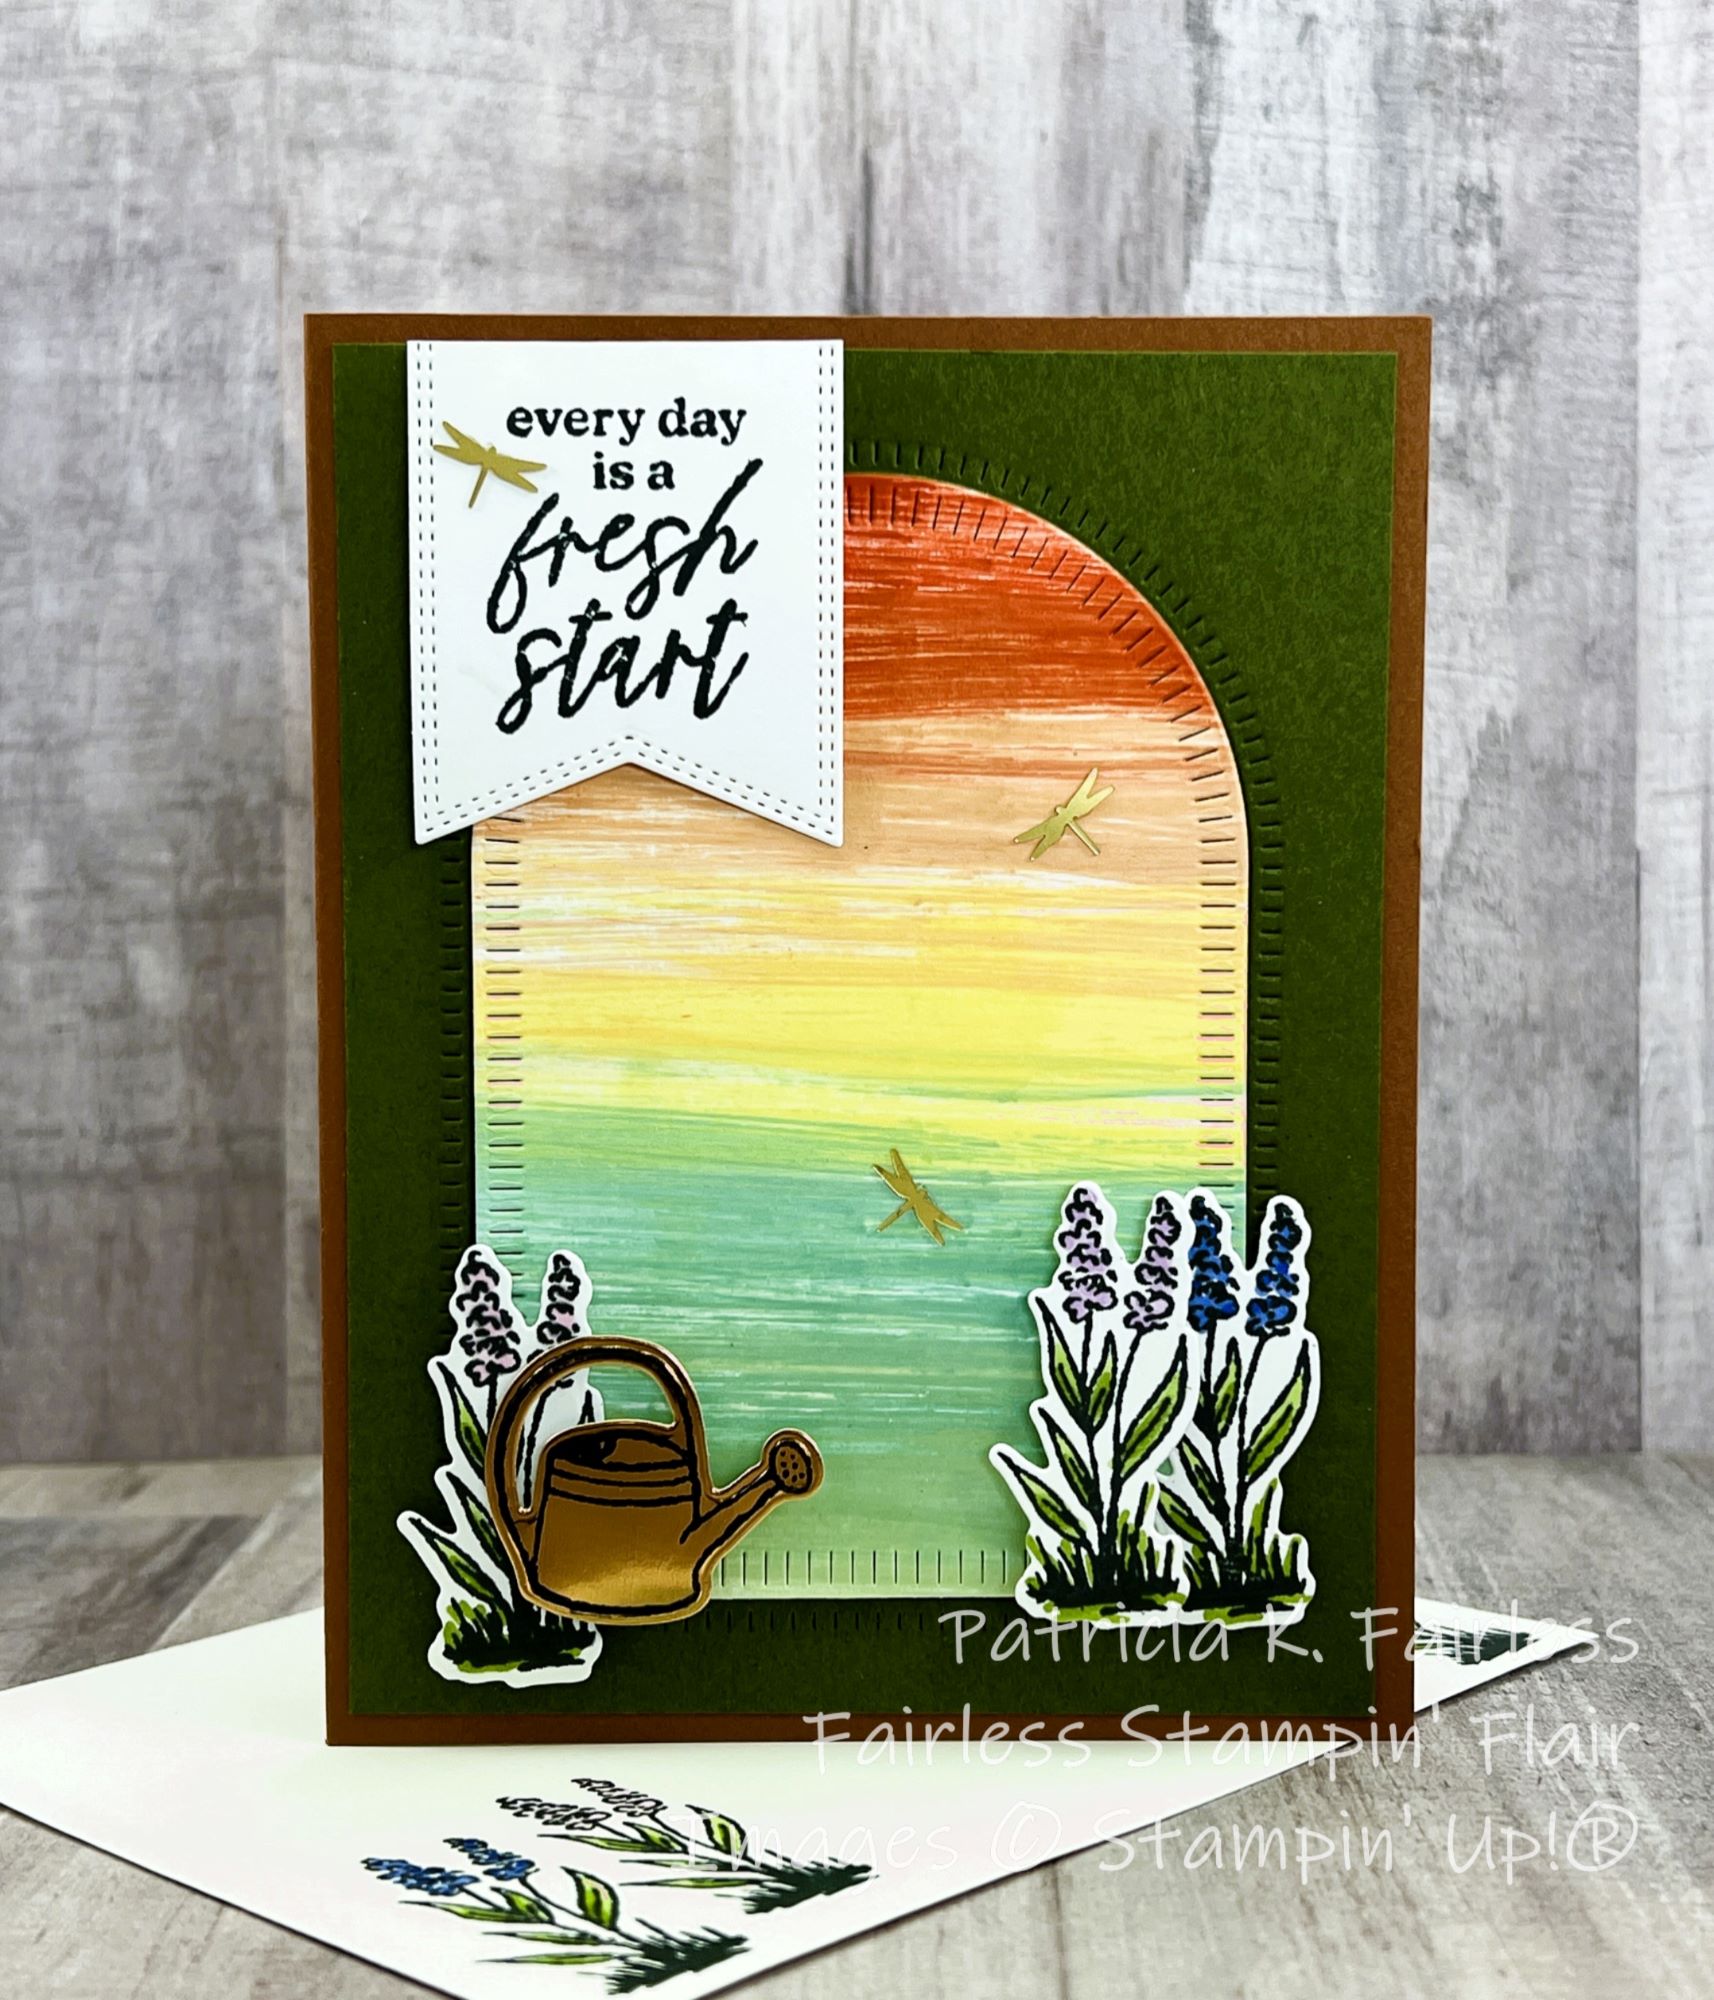
As I indicated in the video, once you create your scored "grid", there are many different ways to use it on a card.  You can use it as it is.  You can stamp on it.  You can color it with sponge daubers.  I used the Countryside Blossoms embossing folder as a "background" stamp to decorate the grid for this card.  

Some of my favorite card layouts use diagonal elements.  For this card front I matted a strip of Smokey Slate cardstock to a strip of Fresh Freesia cardstock and then laid it diagonally across my completed Grid Technique Sheet.  It was then very easy to flip over the Basic White Grid Sheet and use it as a guide to trim the corners.

The wheelbarrow from the Garden Meadow Stamp Set was stamped on Basic White with Tuxedo Black Memento ink and then colored with Stampin' Blends.  It felt like it needed to sit on a special perch, so I used the "circle" die from Thoughtful Expressions Dies.  The sentiment was die cut with a smaller version of the same die.  Aren't they pretty die cuts? 

If you missed the Thoughtful Expressions Bundle in the January - April Mini Catalog, check it out on the product list below.  The stamps are beautiful, but the dies that come with the bundle are true winners.  These are dies that you will use over and over with all your stamps!


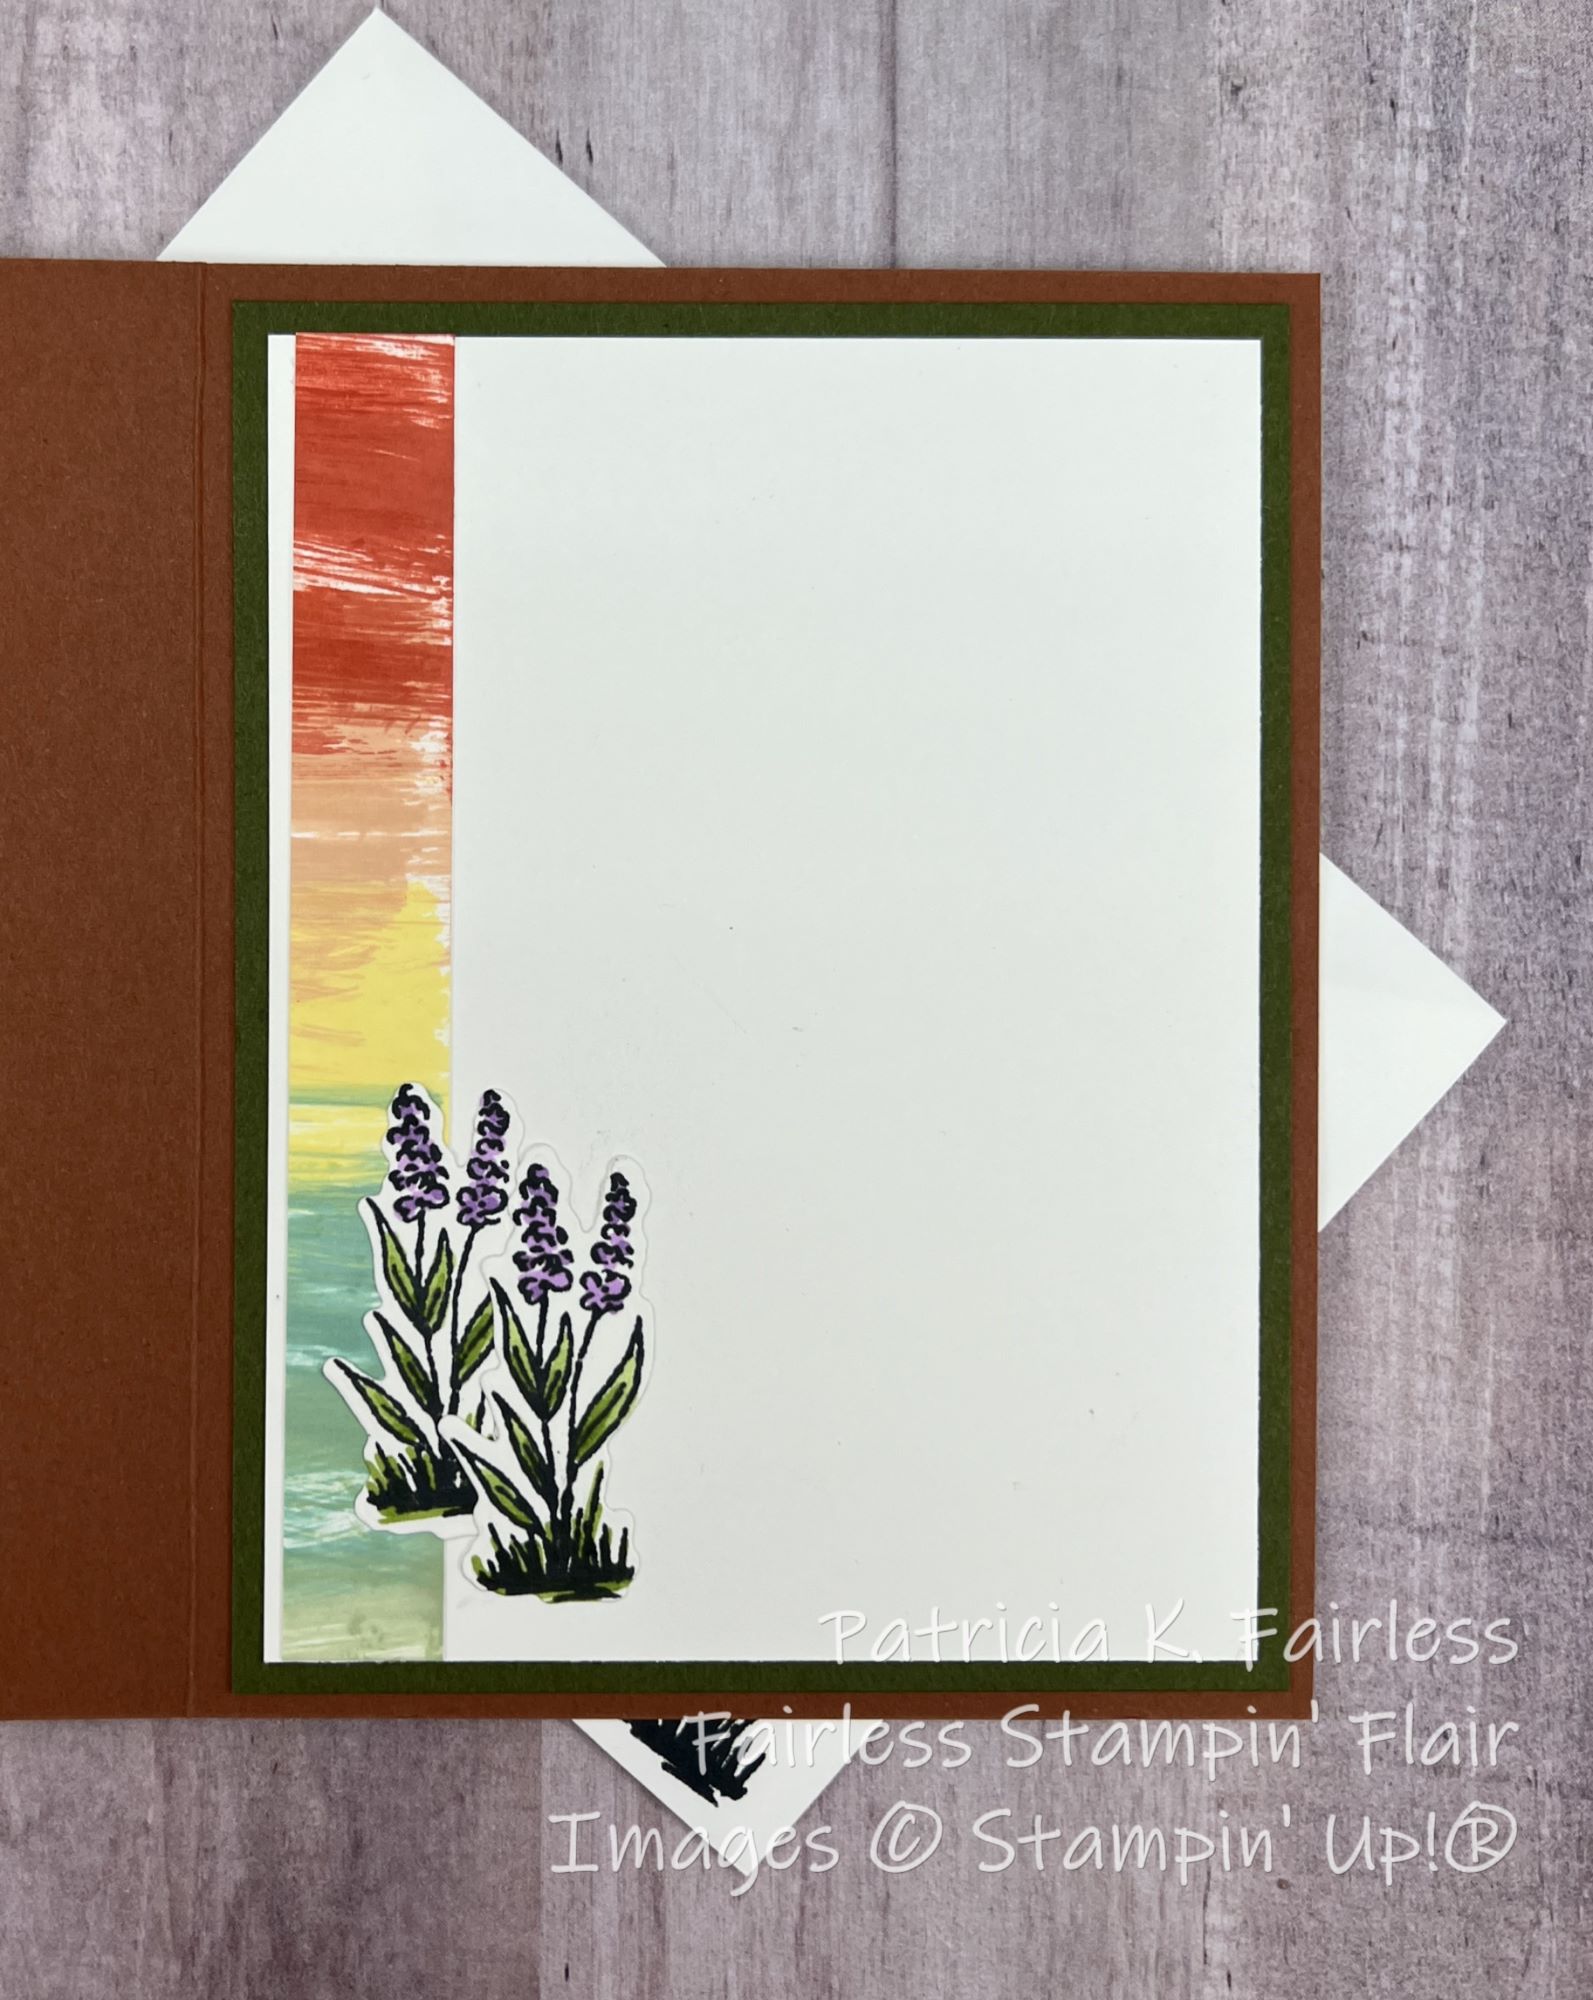
To decorate the inside of the card, I simply stamped the basket of flowers and colored it with Stampin' Blends.  Notice that I "scribbled" a little Fresh Freesia ink below the basket.  This is a quick and simple way to "ground" the flower basket and make it look like it is "sitting on something" rather than floating in space.

Use this link to download a free tutorial for today's card.  The tutorial also includes a link to the Grid Technique Video.  So, if you download the tutorial, you will always be able to find the video.

I hope you have enjoyed Take Two of the Garden Meadow Bundle.  This bundle is so much fun, you may just see a Take Three sometime in the future.


Product List

Wednesday, February 21, 2024

A WALK THROUGH THE WOODS

I'm taking a walk through the woods to a Garden Meadow today.  I hope you will come and walk with me.


The woods was die cut with an Aspen Trees Die from the beautiful Meandering Meadows Designer Series Paper (DSP).  Since I wanted to pop up the trees with dimensionals, Copper Clay cardstock was adhered to the DSP before die cutting to provide additional "structure."  After die cutting, a quick run through the Stampin' Cut & Emboss Machine with the Timber 3D embossing folder provided woodgrain texture to the "wood" DSP.

As we exit the woods we come upon a path through a beautiful meadow also provided by the Meandering Meadows DSP.  In fact, the beautiful meadow scene is on the opposite side of the woodgrain design used for the woods.

During our walk we met a pretty blue momma bird and her chicks.  They were hiding behind some flowers, but as we walked by, they decided we were friendly and came out to say hi.  Momma insisted that she and her chicks get a special place on our card, and who could deny such a nice request.


After covering the front of the card base, I still had a strip of the 6" x 6" Meadow leftover, so I cut it into two narrower strips and used the narrowest of the two for the inside of the card and the remaining strip for the front of the envelope.  

Use this link to download a free tutorial for this easy card.  Momma bird says you won't be sorry.  It may not look like it, but she promises that it is a quick and simple card.


Product List

Monday, February 19, 2024

A SUNSET GARDEN

I'm doing a "take two" with the Garden Meadow Bundle this week.  This Meandering Meadows Suite of products is so gorgeous that one week just didn't do it justice.  And honestly, I'm not sure that two weeks will do it justice either.

Today's card uses the Striped Wipe Technique to create the beautiful sunset for our flower garden.  Striped Wipe is a technique that I shared on my Learning with Friends video last week.  It is a fun technique using baby wipes and reinkers that makes beautiful backgrounds.  If you missed the video, you can watch the replay on my YouTube Channel using the link below.


Each background made with this technique is unique.

My original plan for this card was to have flowers cover the complete bottom of the card, but once I saw my completed Striped Wipe technique I thought it looked like a sunset over the ocean (which was not my plan at all).  But once I saw the result, I decided not to fully cover the bottom of the Technique Sheet.  It was just too pretty to cover a third of it!

Place yourself on an oceanside patio that has a few flowers planted near the patio's edge.  You have just finished watering the flowers with your copper watering can, and you are now sitting in your favorite chair sipping coffee.  This is the view you see.  Would you ever want to leave?  Not me.


The flowers were stamped on Basic White cardstock with Tuxedo Black Memento ink and then colored with Stampin' Blends.  The watering can was stamped on Copper Foil with Black Sazon ink.  All were easily and quickly die cut with coordinating dies from Garden Meadow Dies.  There is no time for fussy cutting when you have a view like this to enjoy!


After I die cut the Striped Wipe Technique Sheet with the arch die from the Garden Meadow Bundle, I had a little scrap strip leftover.  Since I had planned to have flowers cover the complete bottom of my card front, I also ended up with a couple of leftover flower die cuts.  Never one to let something pretty go to waste I used the scrap technique strip and the extra flowers to decorate the inside of my card.  I love it when I don't have to think about how to make the inside of a card pretty.  I just use leftovers!


For more detailed information on any of the products used, click on the image below and it will take you to my store.

At the end of this post there is a place for you to leave a comment or ask any questions you may have.  I'd love to know your thoughts.


Product List